Lesson 4
Your First Object
Create your first GameMaker object, add some simple GML, and use the Step event to make it move across the room.
An Object
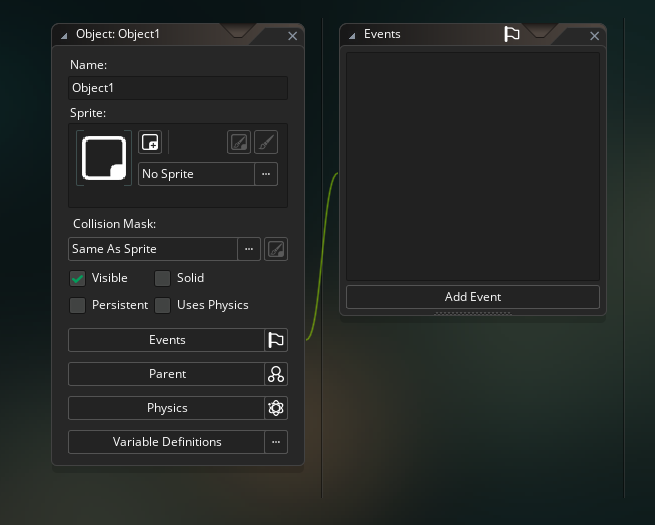
So far, we’ve learnt what GameMaker is, and we have an understanding of what objects and events are. Let’s create your first object now.
If you haven’t already done so, right click on the Asset Browser (the section that has your Room1 room), and select Create > Object. The Object window that you saw in the previous lesson should pop up.
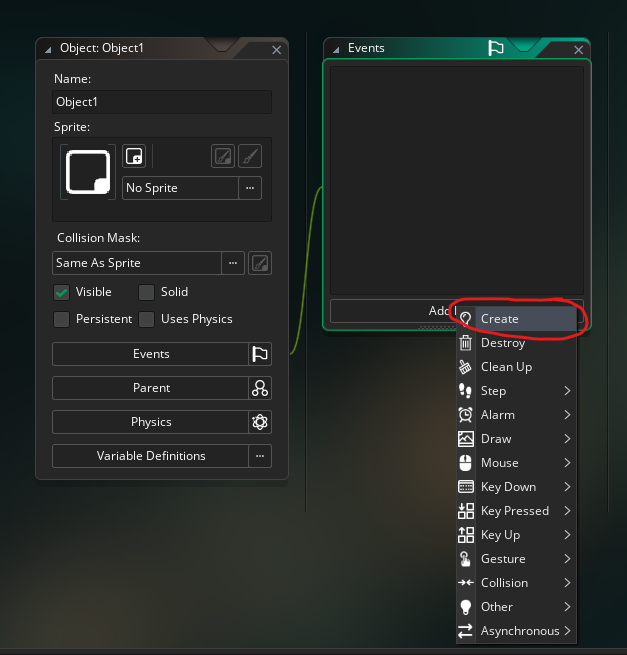
Let’s add a Create Event to this object.
Left click on Add Event at the bottom of the Events window. Select Create.
A new window should open, this is your Code Editor window.
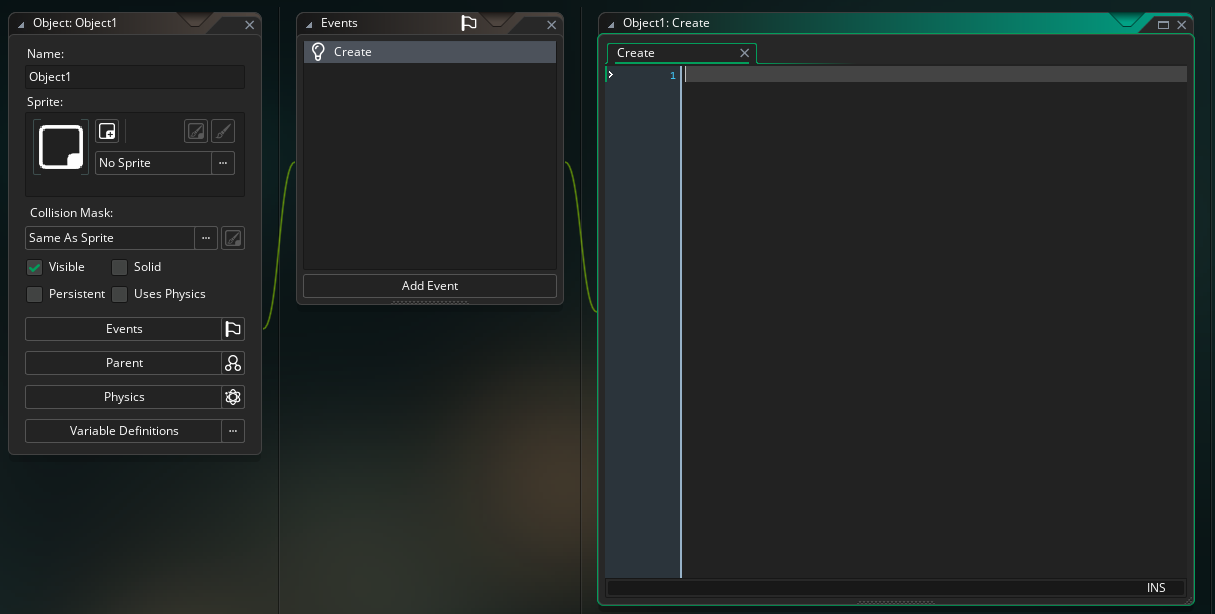
You can also see in the Events window, you now have a Create entry. This lets you know what Events you currently have code for in an object.
Your first code
We are going to focus more on code in the next lesson plan, so for right now, we’ll do something simple without a lot of explanation. In the Code Editor window, type:
speed = 1;
direction = 0;
speed and direction are built-in variables for GameMaker, and so they have automatic behaviours.
speed will make an instance move automatically. And direction determines what angle the instance will move in. GM’s coordinate system has 0 degrees pointing to the right, 90 degrees pointing up, and so on in an anti-clockwise fashion.
So with all that being said, our instance will now automatically move to the right at a speed of 1 pixel per frame (with the game running at 60 frames per second by default).
Add a step
Ok, that’s all good, but if we have an instance move right constantly, it will very quickly move off screen, so let’s add some extra behaviour to it so that it can bounce back and forth.
To do that, we want to use the Step Event. This is because we want our instance to be making constant decisions, over the course of its lifespan, about what direction it should move in.
Click Add Event again, and this time select Step > Step.

You can see there’s a few different variations on Step Events, maybe we’ll touch on those in a future lesson, but for now the plain Step is what you want.
That opens a new tab in the Code Editor window, and you can see in the Events window, you now have Create and Step.
Making sure you have the Step tab selected in the Code Editor window, enter this code:
if (x < 0) {
	direction = 0;
}
else if (x > room_width) {
	direction = 180;
}
Again, we’ll focus more on coding fundamentals later, so as a simple description of this code: we are checking if the horizontal position (x) of the instance is less than 0 (exiting the left of the room) or greater than room_width (exiting the right of the room).
We set direction to 0 (right in GM terms) or 180 (left in GM terms) based on which side of the room the instance is exiting.
The code needs to be in the Step Event because we need to be checking every frame to see if the conditions have been met to change direction.
In the next lesson, we’ll learn how to add a sprite to the object so it actually has a visual representation, rather than simply being a blob of data.