Lesson 5
Sprites and Rooms
Learn about sprites and rooms in GameMaker.
Sprites
So far we’ve got a single object in our project, with a little bit of code to control it. But we want to be able to see our object.
That means we need to create a sprite, and assign it to the object.
We can create a sprite using the same methods we created the object: Right clicking on the Asset Browser below the Quick Access section and selecting Create > Sprite.
Or we can use the + icon at the top of the Asset Browser and click Sprite.
Or we can add a new sprite directly from the object itself. Let’s do it that way.
First, look at your Object window. It has a “Name” field and directly below that it has a “Sprite” section. There’s a little icon that looks like a rectangle with a + in the bottom-right corner of it.
The “Create a new sprite” button
Click on that button.
This will create a new sprite, and automatically assign it to the object. It will also automatically open up the Sprite window.
The Sprite window
I highly recommend using an external image editor when making sprites for a game. GM’s built-in sprite editor is passable for smaller stuff but is missing many common features.
I have recommendations in the Resources section of the website for free image editors that I have had success with, so I would recommend browsing through there at some point and having a look at what’s available.
Drawing your sprite
Let’s make this sprite our “hero” character. First, change the name of the sprite from Sprite1 (or whatever it is) to something more descriptive, such as spr_player.
It is a common convention amongst GM users to prefix assets with their “type”. This means all sprites have their names prefixed with spr_, all objects with obj_, etc.
You don’t have to do this, or if you do, you can pick another convention (shortening them to s_ or o_ is also common, for example). But I recommend prefixing them with something for organisational sake.
It simply makes it easier to handle all your assets if you’re able to clearly distinguish the type directly in the name. If you forego spr_ and just name the sprite player, then what do you name your player object? Prefixes avoid this, and make the asset understandable at a glance.
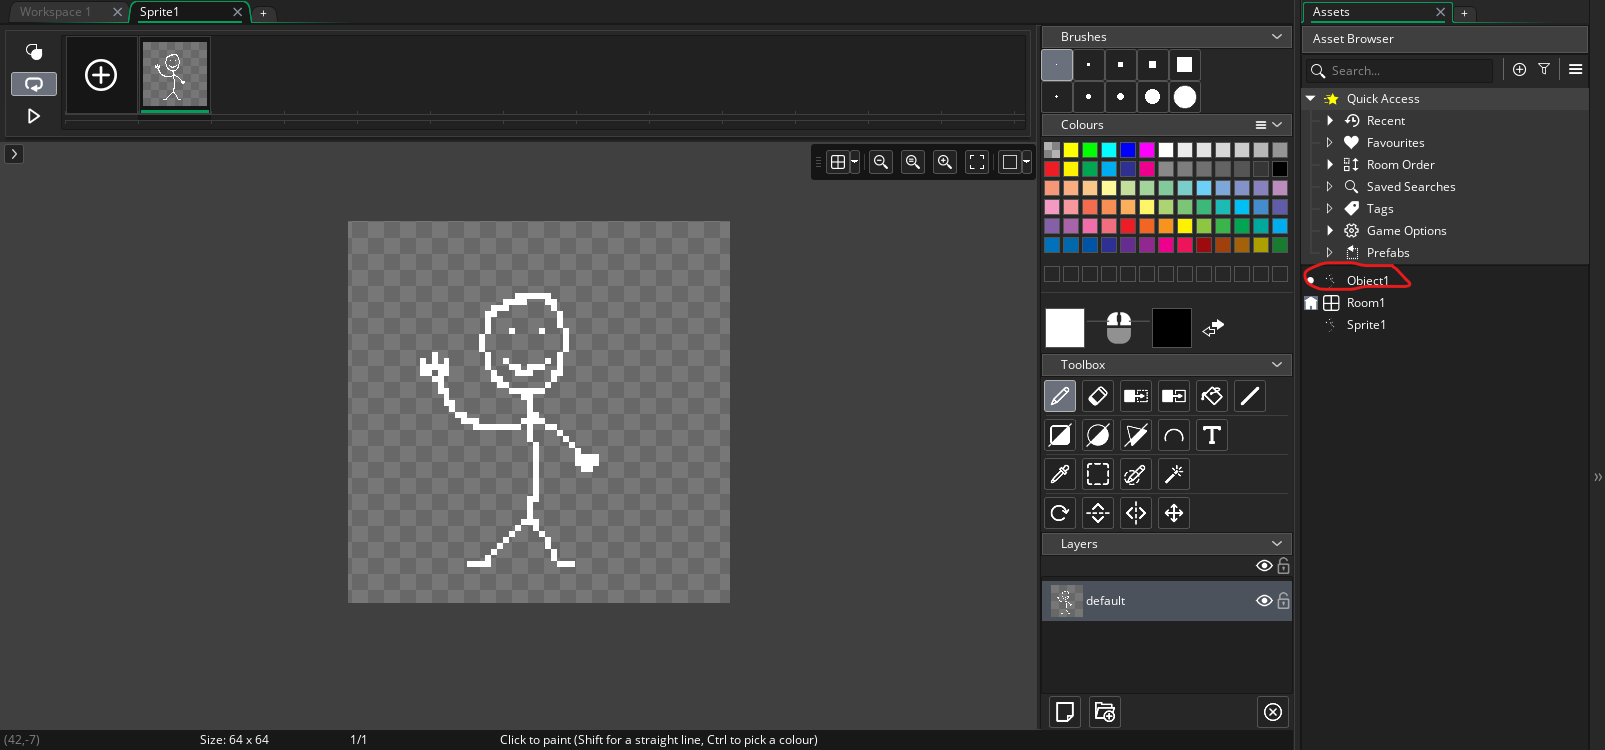
A blank sprite is no good, so we’ll draw a quick sprite for our player. We’ll use the GM Sprite Editor to draw it.
Click on the Edit Image button on the Sprite window. This will open the Sprite Editor.
The Sprite Editor
This is the basic GM Sprite Editor. It functions like most other image editors (with a few exceptions, like copy and paste behaving differently than you might expect).
On the right hand side are our drawing tools: Brushes, Colours, Toolbox and Layers. The Pen tool is selected by default, and the default colour is white.
This is good enough for me, but if you want to experiment go right ahead.
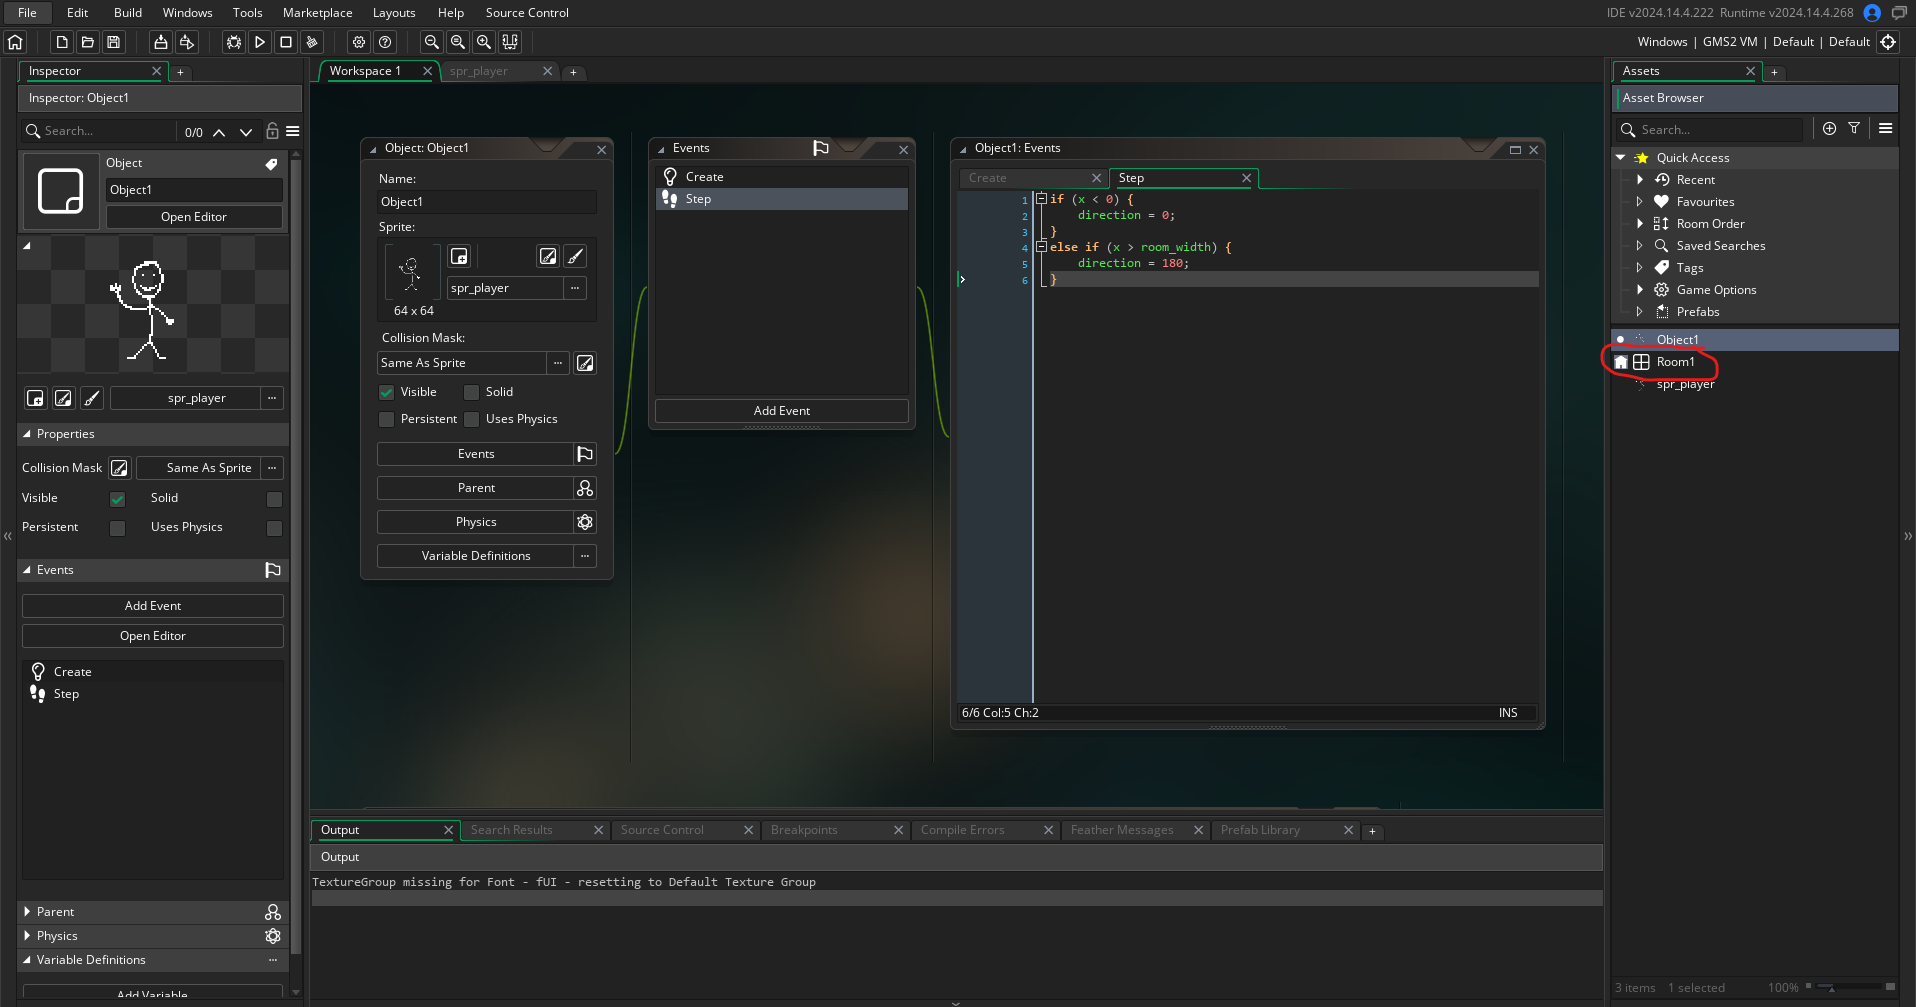
Once you’ve finished drawing your sprite, you’ll need to get back to your object. There’s a couple of options to do this. The simplest way is to double click your object in the *Assets Browser. Double clicking on any asset will bring that asset into focus.
Double click on your object
You should see that your object now has your spr_player sprite assigned to it in the Sprite section.
Your sprite assigned to your object
Let’s name the object properly now. Click on the Name field and rename it from Object to something like obj_player.
Your object now has visual representation! Hoorah!
We have one last task to do, involving the room.
Rooms
If you were to start up your game right now, then nothing would happen. This is because in order to have something exist in your game, it has to be placed in a room.
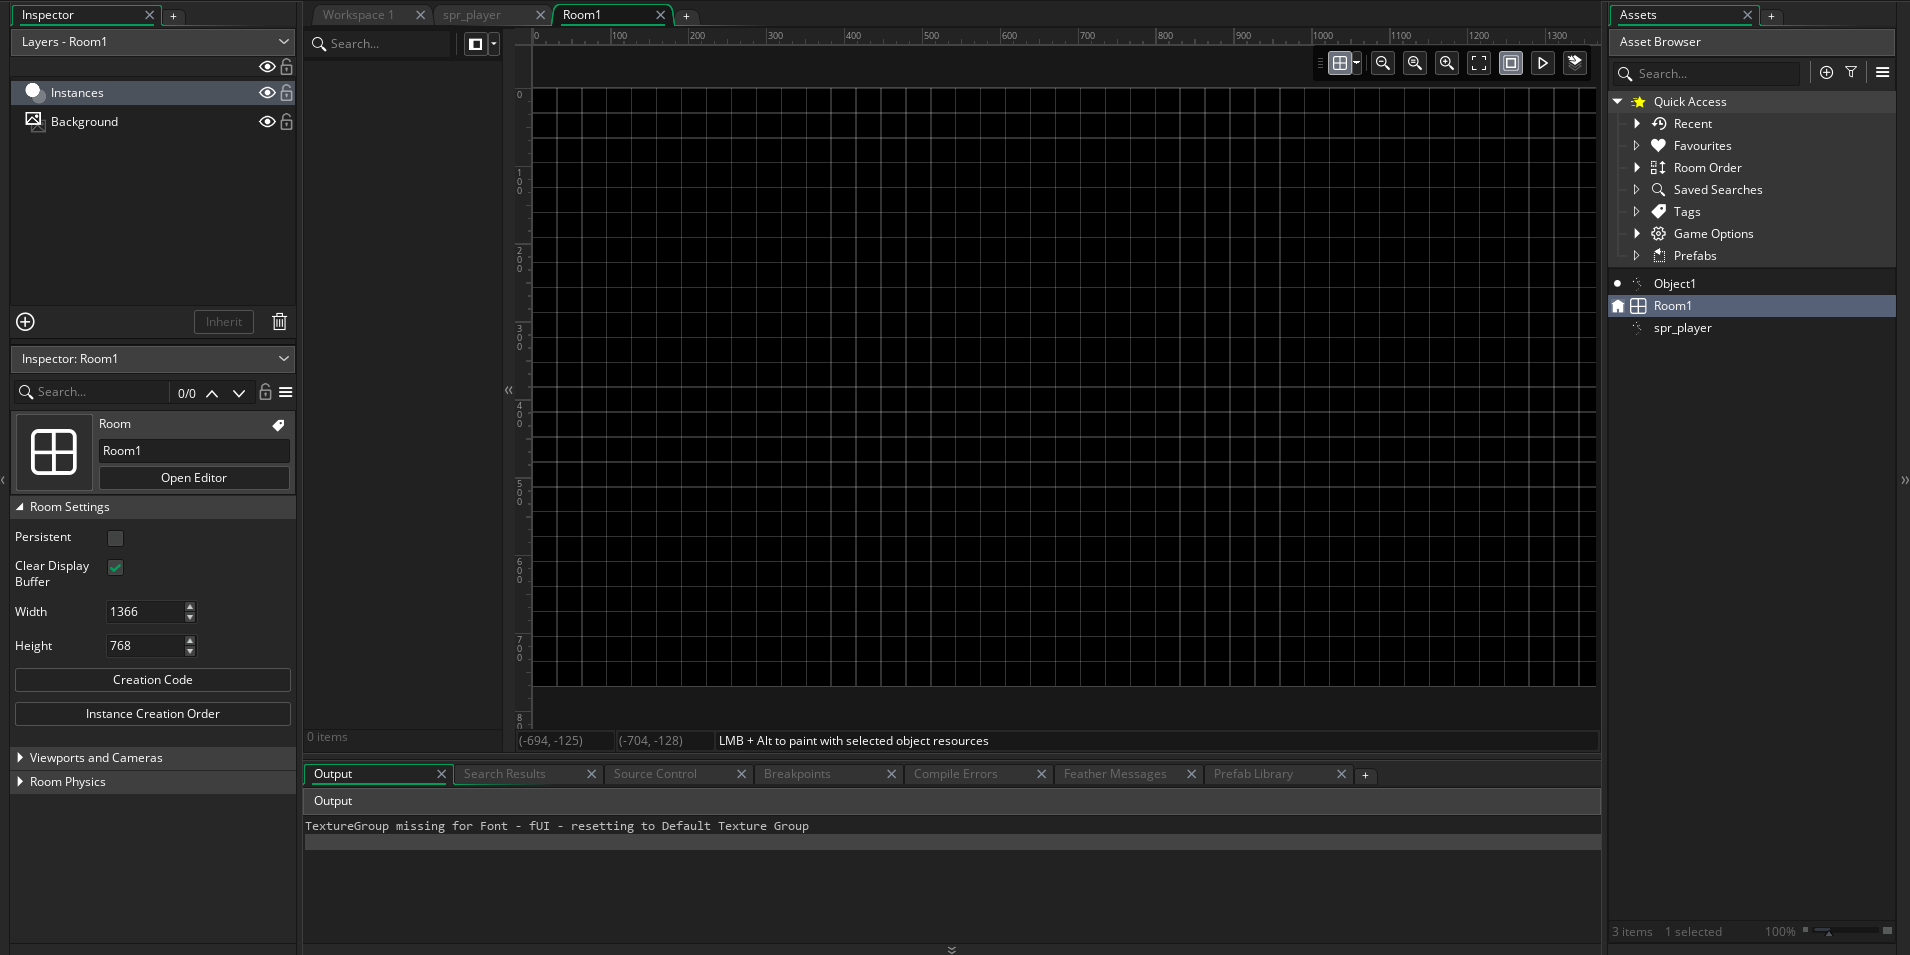
GameMaker automatically creates a room called Room1 when you start a new project. You can see it in the Asset Browser.
A room in your Asset Browser
Double click on it in order to open the room, and you should be presented with the Room Editor.
The Room Editor
There’s a number of things going on here. On the left-hand side, we have the Inspector. We haven’t talked about the Inspector yet, but it’s an alternative method of editing assets.
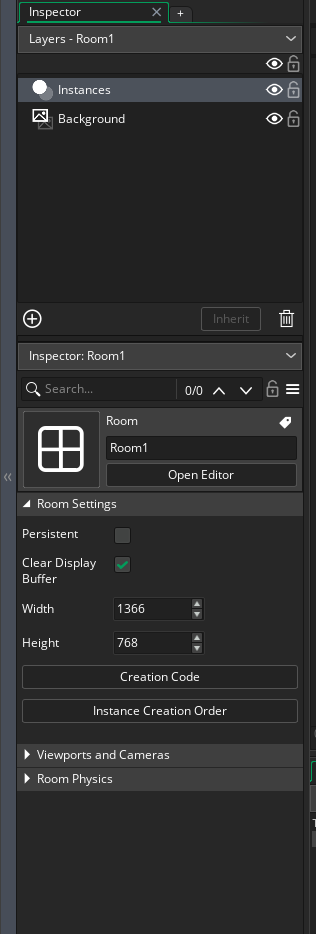
The Inspector
You can see that we have a Layers section, and underneath that the Inspector window for the actively selected room (you can rename your room here if you like, rm_play or something), then the Room Settings.
The Room Settings is where you can control your room size, the camera settings for the room, and a few other little details. We’ll leave them all as is right now. Our focus is going to be on getting an instance of our obj_player into the room.
First, we want to check our Layers section. There’s two layers by default: Instances and Background. There are multiple types of layer you can add: Background, Instance, Tile, Path, Asset, Effects and UI.
In order to place an instance, we want an Instance type layer, which is convenient because the Instances layer that GM automatically created is an Instance type of layer. Make sure that layer is the selected one by clicking on it.
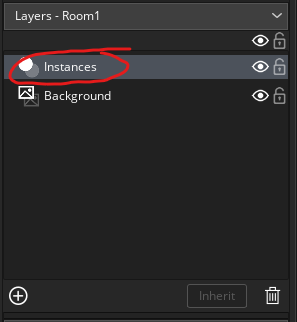
The Instances layer
After that, simply left click and drag your obj_player into the room. This places an instance of your object in the room. You can drag it across multiple times if you like, and you’ll have multiple instances of that object in your room.
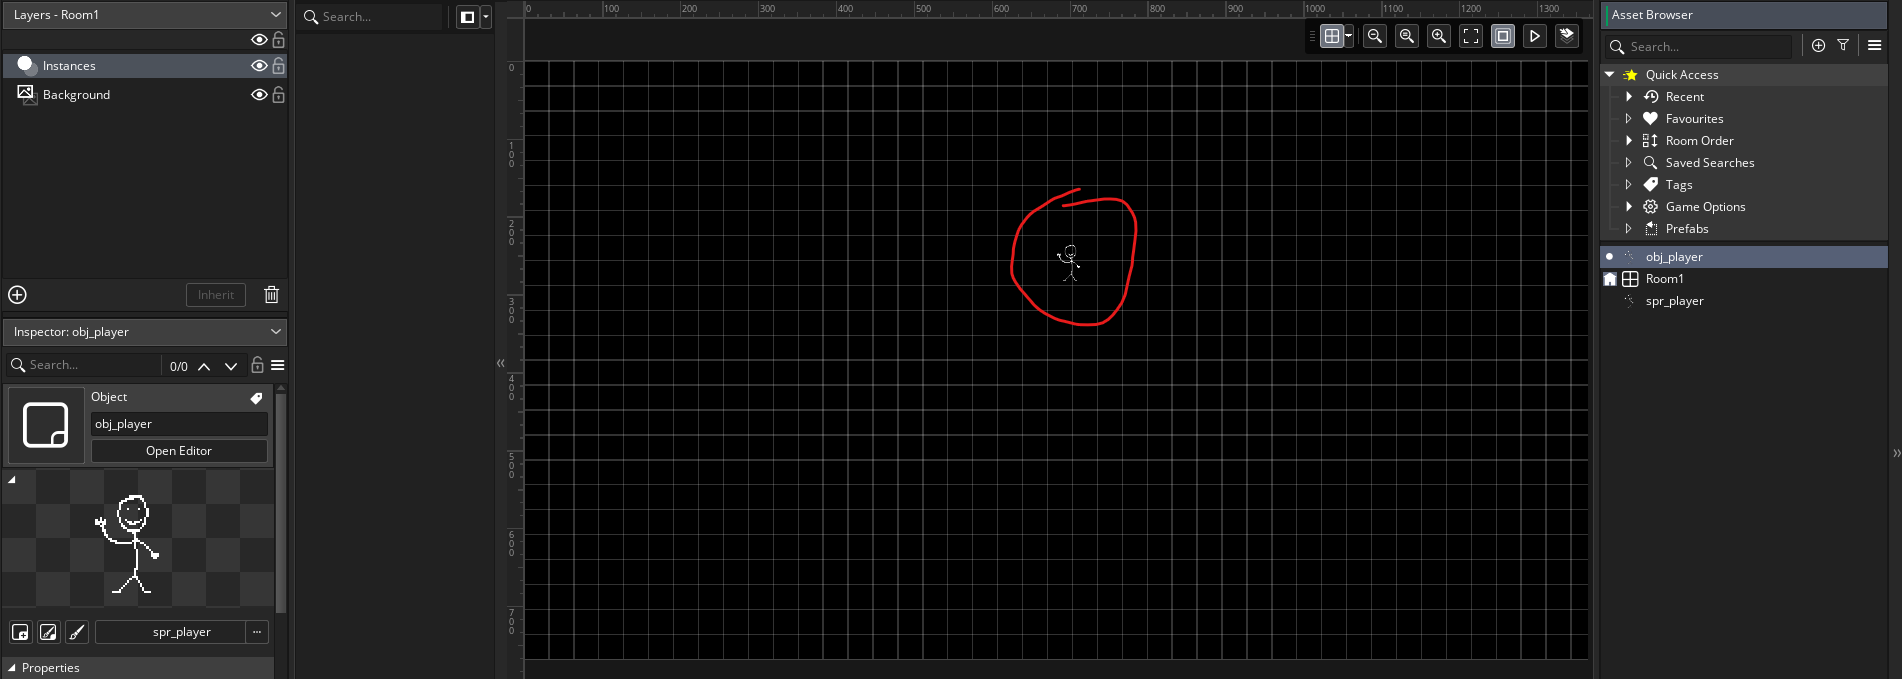
An instance dragged into a room
That’s it. We’ve now completed the minimal steps to get something running in GM.